DIY Christmas Gifts

Image

Sugar Scrub & Body Butter

The girls and I started making our own sugar scrub and body butter back in the summer. We love both products. The whipped body butter is probably my favorite. I only have to apply it once throughout the day. My skin looks better than it ever has before and I don’t have that itchy dry skin you get in the winter. We also use it on Brooks after each bath. Brooks has eczema and it is wonderful for his skin. I also love that our body butter is all natural. While I do love the smell of Bath Body Works products, I have been reading up on some disturbing info on all the harmful ingredients found in their products. No, we are not in any form or fashion an all natural family (wish we were), but we are making small changes as we learn more. The sugar scrub is pretty awesome too. It’s my special treat on Sunday evenings. The scrub feels great and after using it I don’t even have to apply lotion.

So, with that said, we decided to share our homemade products with our friends and family for Christmas. Of course this is only for the ladies on our list, but we’re working on other ideas for the men. Both the sugar scrub and the body butter make your skin feel great, can be an all natural product, is easy to make, and isn’t expensive. We are using these as teacher gifts, hostess gifts, and all the friends and family members that we just want to give a little something to.

Sugar Scrub

Sugar Scrub

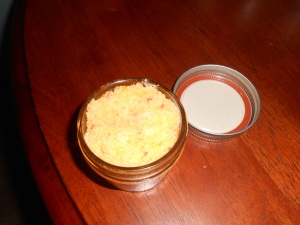
Sugar Scrub

1 cup of sugar

2oz coconut oil

2oz olive oil

1tsp vitamin e

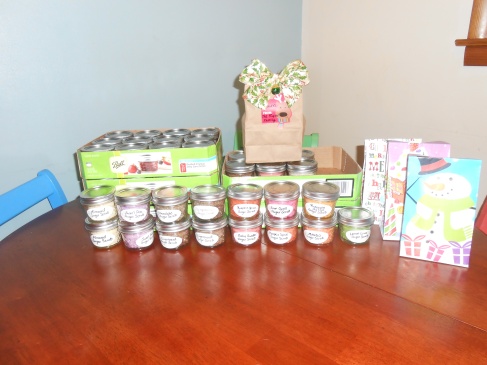
The girls and I do add scents. If you’re going for all natural use essential oils. We have both essential oils and fragrant oils. The sugar scrub pictured above is Pineapple Mango and so we colored it with orange and yellow food coloring. We packaged it in a 4oz canning jar. The jar is tiny, but the scrub will last a while, unless you exfoliate every day!

Whipped Body Butter

Whipped Body Butter

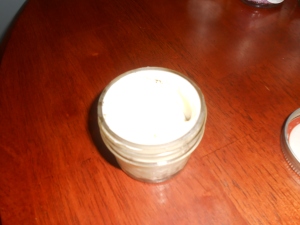
Whipped Body Butter

1 cup shea butter

2oz coconut oil

2oz almond oil

2oz beeswax

1tsp vitamin e

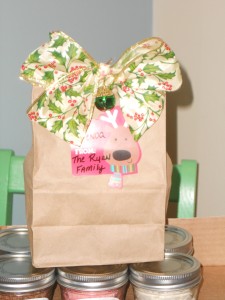
We add scents to the body butter as well, but not color. The shea is a natural yellowish color.   We are also putting the butter in a 4oz canning jar. Now we have 2 nice, simple, inexpensive gifts to share with our friends. We chose to “make” our own bags for these gifts to kinda stick to the homemade theme we have goin on. We picked up some brown paper bags, ribbon, and name tags at Dollar Tree and our gift bags are just as simple as the rest.

DSCN0411

I just want to say that there are tons of sugar scrub and body butter recipes on pinterest and other places. Pinterest is where I first came across them myself. You may find one of those recipes to be better for you. This is just what I have found myself using after experimenting with a few batches of my own. Hope you enjoyed! 🙂

DIY Pot Rack

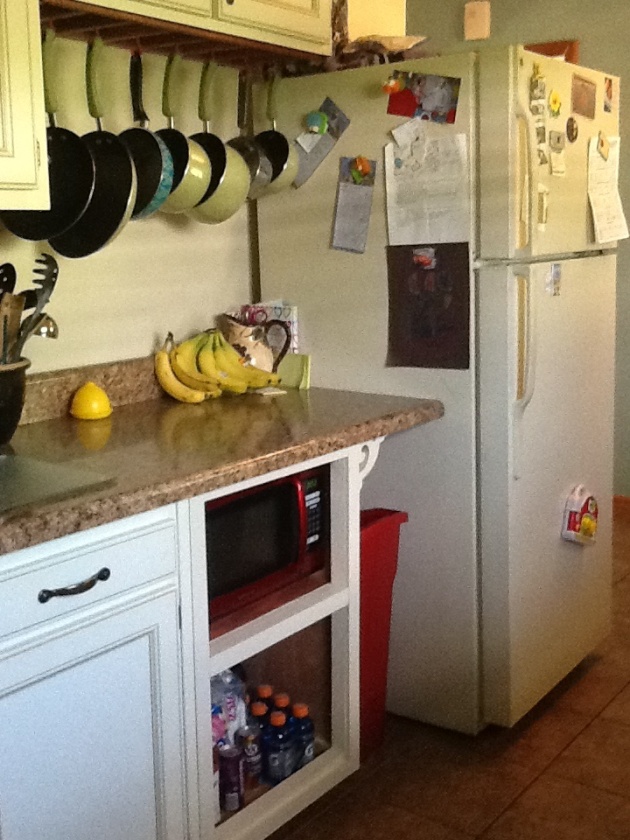
As you know, we have a tiny kitchen with very little storage. For years I kept my cookware in the drawer under the stove. Well, now that I can kinda cook, we decided to do away with my very cheap cookware and invest in a nice set. So, once I got my pretty Paula Dean pot and pan set I no longer wanted to hide it away in the drawer under the stove. I then turned to my hubby. P.J. looked at many different pot racks, but they were all so expensive. We also had the issue of space. We had to find a very small pot rack and still weren’t sure where it would really fit.  In the meantime, we had just moved our refrigerator down in order to build an extra cabinet for the microwave and to have more counter space for cooking. In doing that it opened up a space perfect for a pot rack. The short cabinets that were once over the refrigerator looked a little funny and the wall space was naked! P.J. easily framed out the space with 2×1 pieces of pine wood, stained them, added hooks, and there it is, diy pot rack. I love it! It took care of that awkward space we had after moving our refrigerator, and gave us a place to display our cookware. I also enjoy being able to just grab the pot or pan I want so easily. It’s so much better than having to stack them all just right in the drawer under the stove, or a cabinet. This pot rack cost us less than $20.00 and is a perfect fit for our kitchen.

Microwave under the cabinet. More on that under projects tab.

Microwave under the cabinet. More on that under projects tab.

Girl With a Hammer Continued

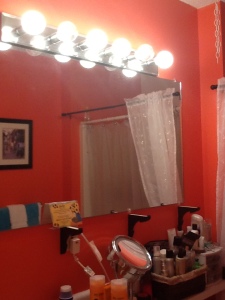
A while back we shared a post about our friend Miss Kristi and her bathroom. She sent us new pics of the finished product and it looks great. We’re going to share the before pics first, just as a reminder. Here ya go!

photo-2

The bathroom is so small it was hard for Kristi to get a good shot. Notice the paint color, flooring, and the white vanity.

photo-6

Huge plain mirror and outdated light fixture.

Finished Product

New shower curtain and a fresh coat of paint. Kristi went from loud to soft in her choice of paint.

New shower curtain and a fresh coat of paint. Kristi went from loud to soft in her choice of paint.

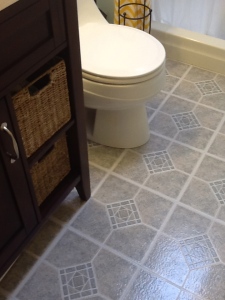
New flooring and vanity.

New flooring and vanity.

New medicine cabinet over the toilet. If I’m not mistaken I think that huge mirror took up space over the toilet previously. Now, Kristi has extra storage and it looks so much better.

New light fixture.

New light fixture over the mirror.

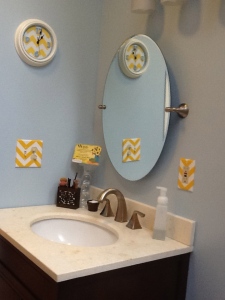
New vanity and mirror. I love this mirror. It opens up for storage, while looking great!

New vanity and mirror. I love this mirror. It opens up for storage, while looking great!

Perfect thought for starting your day!

Perfect thought for starting your day!

Kristi’s bathroom looks wonderful! She did order her matching shower curtain, switch covers and clock with the yellow chevron pattern from Etsy. This little bathroom underwent a huge transformation. Great work Kristi!

Do you have pics of a diy remodel you have completed. Please share them with us. We love the inspiration and the many creative ideas that others have.